


February 2009
Member's Corner
Noemi Pascual
of Noemi Pascual Character Dolls
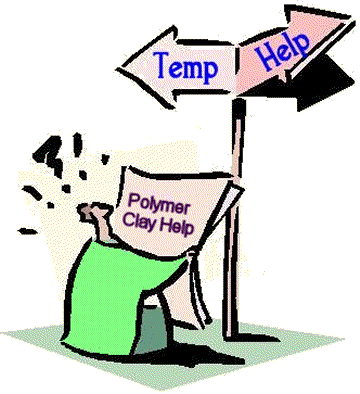
As a doll sculptor Im frequently asked what kind of polymer clay, tools and materials I use. That is why, when I was invited to contribute to this magazine, I thought it could be interesting writing something about some of these topics. I hope you may find it useful.
When I first started working with polymer clay and I sculpted my first doll, I was concerned about how to position it in the oven without having it burn. This seems to be a common question everyone has during their first time working with clay.
So I felt that it would be wise to make some cylinders to be baked at different temperatures and times and see what happened. This way theres was no risk of spoiling my doll. Once the cylinders were baked, I observed how they behaved regarding twisting, traction, etc., how colour shades changed according to temperatures, etc.
It was my conclusion that polymer clay manufacturers had a good reason to give the directions they do about oven temperature and baking times.
According to my own trials, the manufacturers directions are the most suitable. This is why, when someone says to me that she/he uses to bake her/his clay with the oven heat, or with the oven on but at temperature lower than 130°C (thinking that at a higher temperature, the piece might be burnt), or at a higher temperature in order to finish earlier, I always advise them to closely follow the manufacturers directions.
 Since this is the way the pieces will come out better, tougher and without tan shades. I advise to preheat the oven to 130°c or to the temperature the manufacturer indicates, in case there is a different recommendation. Also, to set the pieces to be baked on an oven tray which should be placed close to the bottom oven rack and to bake the piece for 15-20 minutes (take into account that these figures of temperature and time are the best for Sculpeys "Living Doll", the clay I use for my dolls; and the best for any other polymer clays from the brands Sculpey or Fimo). There are other clays whose suitable temperatures are differ, for instance Kato Clay recommends 150°c.
Another thing to consider would be to turn off any upper heat. If you cannot do this, place a tray at the uppermost section of the oven, covering the elements, to reduce any direct heat to the pieces.
Regarding the baking at temperatures higher than 130°c, please dont even think about it. At higher temperatures (I think 150°c and beyond) polymer clay burns up, and it gives off toxic vapours. These temperature figures depend on the clay we are working with; with Kato Clay, for instance, temperature never should exceed 170°c.
 One important point I wouldnt like to emphasize is that Ive met people who use to bake their smaller pieces in the microwave oven, putting them in a bowl full of water. Please dont microwave polymer clay! It is not a suitable substance for microwaves.
Next consider how you transport your work to the oven? When I first started working with clay, I used to lay out aluminium foil on an oven tray. Then I would set my work on the foil to be baked. There are sculptors who set their pieces on a tile or glass container. Heres the dilemna -- what if the pieces you are working with on the foil, or tile or glass are not flat? Or what if they are heavy?
With my first doll, I made it in one piece. I placed her lying down face on aluminium foil and then baked. When I removed the doll from the oven, her head and bottom and the areas closest to the foil had become slightly flattened. Luckily, after wigging and dressing, this "little trouble" was concealed, but I learned a fast lesson.
What I did learn was that it doesnt happen all the time; and it may depend both on the pieces weight and on the clays plasticity (the softer the clay, the easier for this trouble to occur). In the years since, what I have discovered is that you will not encounter this problem with all sculpts, if the piece doesnt need to rest on anything. There are going to be times when you must bake a piece as one solid piece. I have. For instance, when I bake small dolls like babies, I sculpt them as one piece, and must lay down to go into the oven.
 Now Ive figured out a way to work around the problem. Ive solved it this way: take one or two sheets of thick kitchen paper towels (the very absorbent type) and crumple them without reaching the point of making a ball. Now set the small sculpt, or in my case my baby on the crumpled paper and place it in the oven. Since there isnt only one supporting spot, instead several ones, the pieces weight is distributed evenly.
This will result in few marks on the clay. In case there should be some mark, it will be very subtle and easily wiped out with a light sanding.
I hope my remarks may be of some help to you. I am happy for having had the opportunity of sharing them with you.
Noemí Pascual
CDHM and IGMA Artisan

- January 2009: From Drab to Divine
- December 2008: The Wonder of a Giggle!
- November 2008: Go With The Flow!
- October 2008: Are You A Traffic Cop?
Custom Dolls, Houses & Miniatures / CDHM