
CDHM The Miniature Way
April 2011, Issue 15
Tutorial: Cracked Eggs
Page 28
Tutorial with Veselina Koleva
If clay is too sticky powder your fingers with cornstarch.
Now take a needle and carefully 'clean' the area around the holes of the beads from the clay. Just remove the tiny amount of clay around and in the hole which can later cause great difficulties with the releasing of the bead. If necessary roll the bead slightly between your fingers again to smooth the shape.
After you've done set the beads aside.
Make a ball with diameter 1.2cm (½") in diameter out of the sunflower yellow. Add to it a tiny amount of red - a ball with diameter 0.4cm (just over 1/8").
Mix well.
Again, it doesn't have to be exactly like mine, you can add more yellow if you prefer the yolks lighter.
April 2011, Issue 15
Tutorial: Cracked Eggs
Page 28
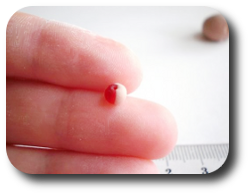
Step 6
Roll the bead between your fingers to make the 'egg-shell' even and smooth.
If clay is too sticky powder your fingers with cornstarch.
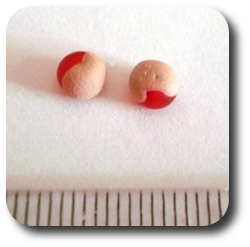
Step 7
Repeat Steps 5 and 6 for the second bead. Remember - we need two beads for one broken egg. If you like you can make more.
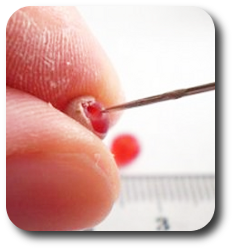
Step 8
Now you should have two half-covered with clay beads.
Now take a needle and carefully 'clean' the area around the holes of the beads from the clay. Just remove the tiny amount of clay around and in the hole which can later cause great difficulties with the releasing of the bead. If necessary roll the bead slightly between your fingers again to smooth the shape.
After you've done set the beads aside.
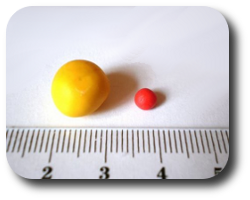
Step 9
Now we need to mix the yolk color.
Make a ball with diameter 1.2cm (½") in diameter out of the sunflower yellow. Add to it a tiny amount of red - a ball with diameter 0.4cm (just over 1/8").
Mix well.
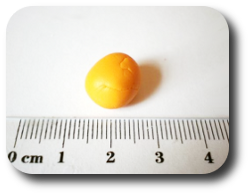
Step 10
This is how the color should look like.
Again, it doesn't have to be exactly like mine, you can add more yellow if you prefer the yolks lighter.


