CDHM The Miniature Way
February 2011, Issue 13
Tutorial: Cream Horn Pastries
Page 90
Tutorial with IGMA Fellow Linda Cummings
Don’t worry if the colours you end up vary from horn to horn, after all, do the pastries and cakes you bake in real life all come out of the oven looking identical?
Bake on your kitchen paper covered baking tray according to manufacturer’s instructions.
February 2011, Issue 13
Tutorial: Cream Horn Pastries
Page 90
Tutorial with IGMA Fellow Linda Cummings

Step 13
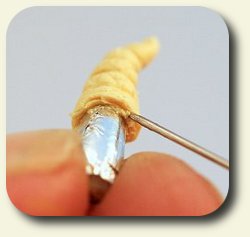
Take a pin or a dental pick and mark ridges down the length of the horn, being very careful not to push too hard at the pointed end – the last thing we want is the point of the “form” to break through the pastry!

Step 14
Holding the horn very, very lightly between your thumb and forefinger, use a pin to mark the "layers" of the puff pastry at the open end of the horn. If you have a long enough bit of the “form” showing, hold this while you mark the pastry – this way you can do it without squishing your texturing!

Step 15
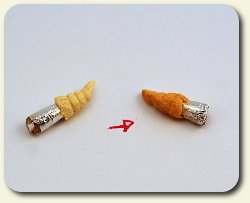
Using the ochre pastel powder and a soft bristled paintbrush, lightly brush over the pastry.

Step 16
With a very light touch, brush over the mixed ochre and brown pastel powder to give a "baked" look. If you use too much of this you will have burned cream horns – always remember, "Less Is More"!
Don’t worry if the colours you end up vary from horn to horn, after all, do the pastries and cakes you bake in real life all come out of the oven looking identical?
Bake on your kitchen paper covered baking tray according to manufacturer’s instructions.

Step 17
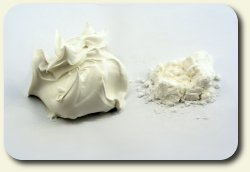
While the horns are baking, prepare the mix for the cream filling by mixing white acrylic texture paste (or just white acrylic paint) with a small amount of cornflour.


