CDHM The Miniature Way
February 2011, Issue 13
Tutorial: Cream Horn Pastries
Page 89
Tutorial with IGMA Fellow Linda Cummings
February 2011, Issue 13
Tutorial: Cream Horn Pastries
Page 89
Tutorial with IGMA Fellow Linda Cummings

Step 8
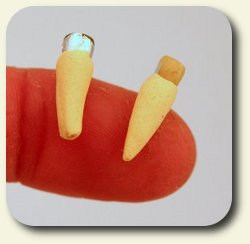
Once more holding the cone gently between your thumb and forefinger, carefully roll the end into a point. I do this by a gentle combination of rolling, smoothing and pulling.

Step 9
If the length has become too much after you have done this, simply trim the wide end carefully with your blade (a single sided blade or craft knife is best for this) by gently rolling the clay covered cone on your finger against the blade. Try to make your horns less than 8mm (5/16") in length.
NOTE
Always try to cut unbaked clay by rolling it against your blade, rather than pushing your blade into the clay as the results are better and the shape less likely to get “squashed” as you cut!

Step 10
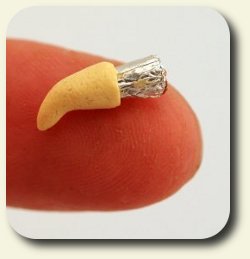
Carefully make a gentle curve in the end.

Step 11
Don’t worry if you have a lot of "form" showing now, this is actually quite helpful for the texturing that comes next and for removing the baked horn from the "form".

Step 12
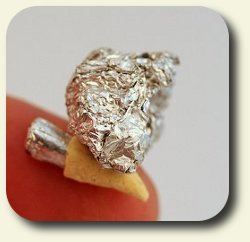
Using a piece of well crumpled foil, gently texture the surface of the pastry.


