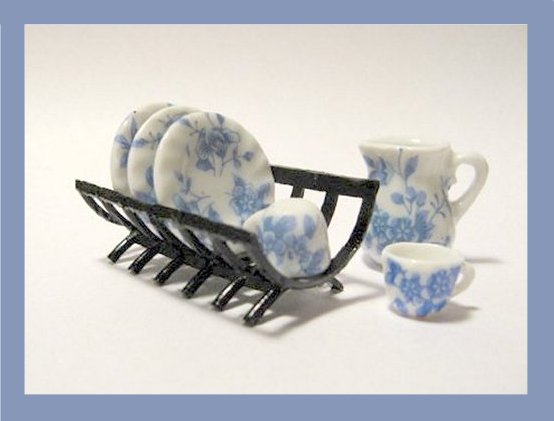
Learn To Make A Dish Rack
From Found Objects
with CDHM Artisan
Gosia Suchodolska
Tools and Materials Needed:
- Cutting Mat
- Glue: Fast Drying Super Glue Type
- Paint Brush
- Paint: Model Type: Matte Black or Silver
- Plastic Hair Curler/Roller (The inner part, the diameter about 2.5 cm)
- Sharp Knife
 Close-up images of materials needed
Enlarge picture of basic supply requirements
INSTRUCTOR COMMENTS
Make sure you've got everything you're going to need. If possible use a new blade in your knife. The sharper it is the better the final effect. Good light is also essential.
Make sure you've got everything you're going to need. If possible use a new blade in your knife. The sharper it is the better the final effect. Good light is also essential.
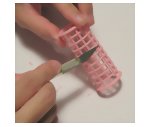 1. Take the inner part of your hair curler. Carefully trim off all those comb-like pieces along the ribs. Please, don't press your knife too hard. This type of plastic is usually pretty soft. Take your time while doing it. You will probably have to correct some places to achieve a really smooth finish.
Enlarge picture showing how to trim hair roller
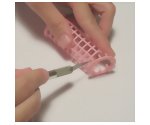 2. Cut off the thick circle as shown in the photo.
Enlarge picture showing where to start cutting
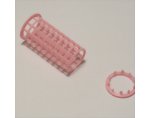 3. You should now have two separate pieces.
Enlarge picture showing cut end
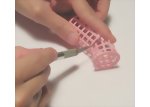 4. Turn the curler. Begin cutting the curler / roller after counting off six sections. Count them carefully and cut off the rest.
Enlarge picture showing additional cuts of the roller
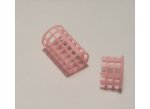 5. In my case I have to get rid of three sections.
Enlarge picture showing how to adjust the cut lengths
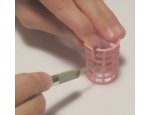 6. Place the curler on your mat vertically. Slowly cut it through along one of the long ribs.
Again don't press the knife too hard.
Enlarge picture showing where to cut along the length
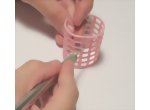 7. Count four sections across and again cut down along the long rib.
Enlarge picture showing where to cut next
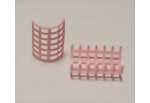 8. You will now have two separate parts as shown in the photo below. Keep both of them, please.
Enlarge picture showing two separate piece to the roller
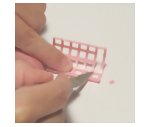 9. Take the part consisting of four sections and remove the fragments of the ribs between the bows.
Enlarge picture showing where to trim
 10. Keep working until you get a smooth surface as shown in the picture.
Enlarge picture showing where to continue trimming
 11. We're going to make the base now. Take the other part of your curler.
Count two ribs and cut them off as demonstrated in the picture.
Enlarge picture showing the base of the rack
 12. Roller after cutting should look like this.
Enlarge picture showing progress so far
 13. Place it flat on your mat and remove the fragments of the bows on both sides leaving only the first and the last one.
Enlarge picture showing how to remove the fragments
 14. After cutting the roller piece should look like the image here.
Enlarge picture showing progress after removing the fragments
 15. At this stage you should have two parts, as shown that have been cut from the one roller.
If necessary correct your work and smooth all possible imperfections.
Enlarge picture showing the two cut parts
 16. Trim off any ribbing on the curler pieces.
Enlarge picture showing where to trim off ribbing
 17. Take your super glue and and lay them opposite each other.
Dab the two parts to each other as shown in the photo.
Enlarge picture showing where to glue the two parts
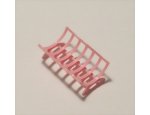 18. Roller pieces after gluing.
Enlarge picture showing parts after gluing
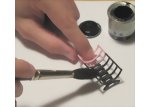 19. Paint your rack anyway you like. I use black matte model paint for that wrought iron effect.
If you prefer you might use white or metallic paint.
Enlarge picture showing painted roller dish rack
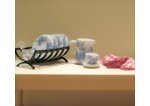 20. Here you have a 1/12 scale kitchen dish rack!
Enlarge picture showing completed 1/12 scale kitchen dish rack
MEET THE ARTIST
 Gosia Suchodolska is a school teacher by profession who lives with her husband, Artur and their new baby, Ania in Poland.
Professionally they make up "Small World Miniatures" and sell wall roomboxes both decorated and unfinished. All their boxes are hand-made primarily from local pine, with a natural finish or stain.
Their boxes are constructed in focal perspective. This method of construction finds it's origins in 19th century construction and was popularized by Dutch artist, Bavelaar.
Gosia is a valued member of the CDHM Forum . Visit the Galleries today.
©
2008-2010 Gosia Suchodolska
Reproduced with permission from Gosia Suchodolska. All photographs and text appearing in this tutorial are the exclusive property of Gosia Suchodolska. Permission is explicitly denied for any republication of text or photographs in this article without the prior express written consent of the author.
BACK
Copyright © 2004-2012
Custom Dolls, Houses & Miniatures / CDHM
Custom Dolls, Houses & Miniatures / CDHM


