


Learn To Make A
1:12 Spooky Witch Broom
with Jody Raines
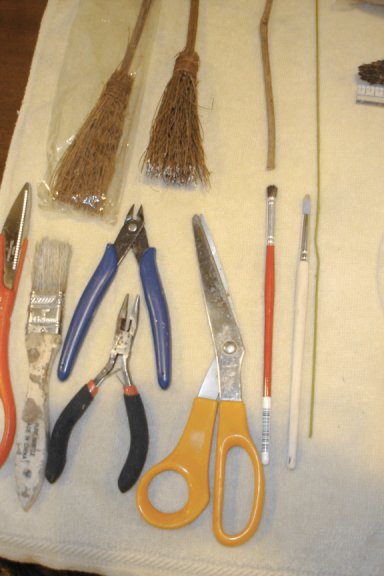
Tools and Materials Needed:
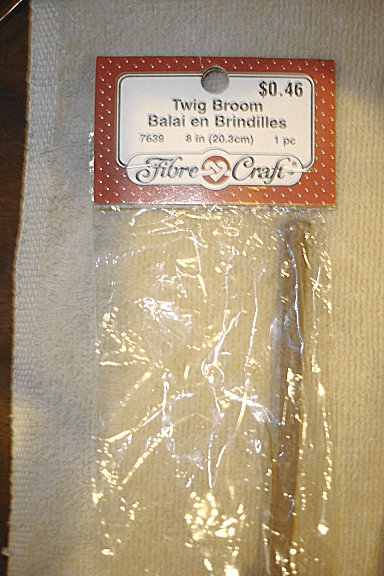
- Rustic Broom or Cinnamon Broom: Small 4" (10cm)
- Polymer Clay : Either Brown Or Cream Colored
- Paint Brush : Soft Type (For Brushing Powder Pigments)
- Florist Wire : Sturdy Fabric-Wrapped Type: 6" (15.24cm) Length
- Glue: White Type
- Thread: Thick Brown
- Plate or Board (To Use For the Clay)
- Moist Wipes (For Your Hands)
- Chalk Pastel
- Black
- Dark Brown - Tools
- Flat Edged Tool
- Scissors: Craft Style
- Stylus
- Toothpick
- Wire Cutters - Optional Items
- Charms
- Gold Chain
- Metallic Pearl Ex Powder In Copper
 Close-up image of materials needed
Enlarge picture of basic supply requirements
 Close-up image of materials needed
Enlarge picture of additional supplies requirements
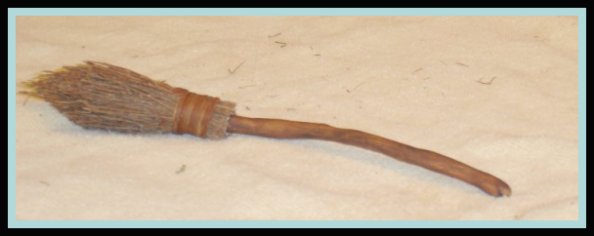
 1. Start by removing the commercially purchased broom. Separate the stick from the broom base and discard the stick.
Enlarge picture showing the separation of the stick from the broom base
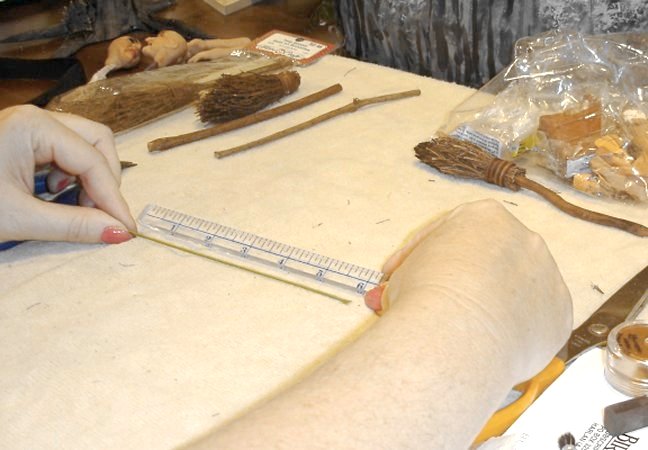
 2. Retrieve the cloth covered floral wire and measure out approximately 5-6" (12.7cm-15.24cm).
Enlarge picture showing length of cut floral wire
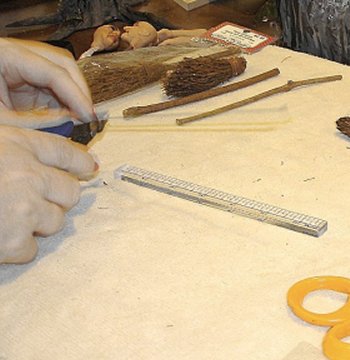
 3. Once the length is measured, go ahead and cut the length with wire cutters. Set aside.
Enlarge picture showing use of wire cutters
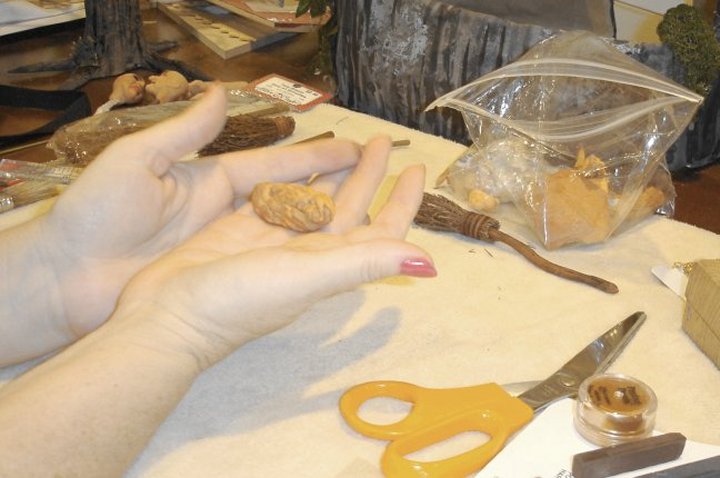
 4. Take a fairly large lump of the polymer clay and go ahead an condition the clay. This will be the handle.
Enlarge picture showing polymer clay
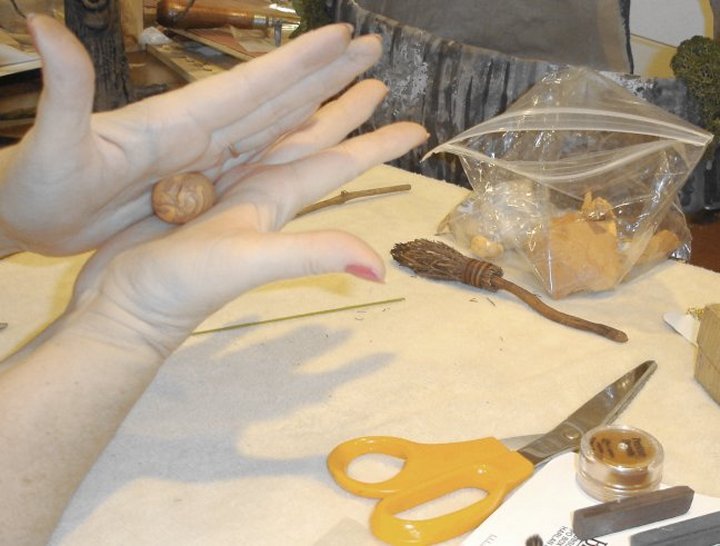
 5. Continue to roll and soften the clay with your hands.
Enlarge picture showing polymer clay
 6. Once the clay is conditioned, roll the clay into a snake shape, the length of the wire and about ¼" (6.35mm) in circumference.
Enlarge picture showing what shape to form
TIP
Remember to bend and shape your wire a bit so that it isn't perfectly straight.
Remember to bend and shape your wire a bit so that it isn't perfectly straight.
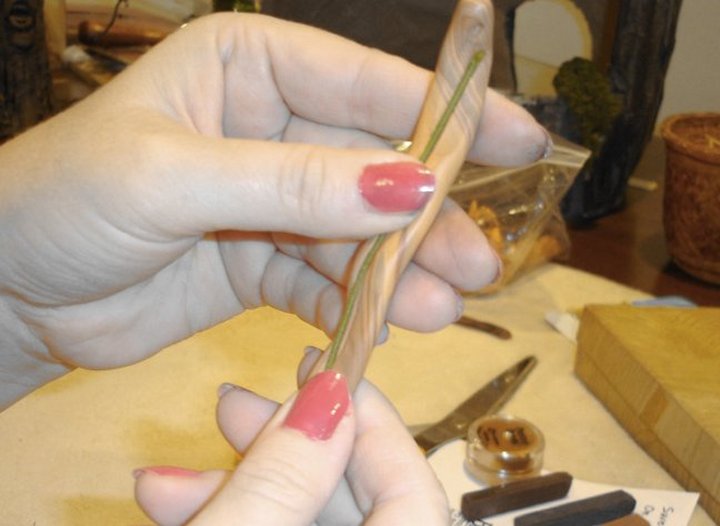
 7. Press the clay against the wire and begin to shape and/or bend it around the wire.
Enlarge picture showing how to form the broom handle
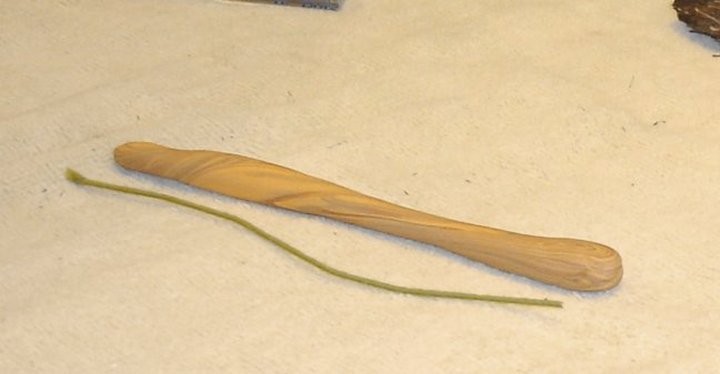
 8. Completely wrap the wire using the polymer clay, rolling the entire length in your hands. Pinch the snake shaped handle of clay, enclosing the wire fully.
Enlarge picture showing the clay handle shape
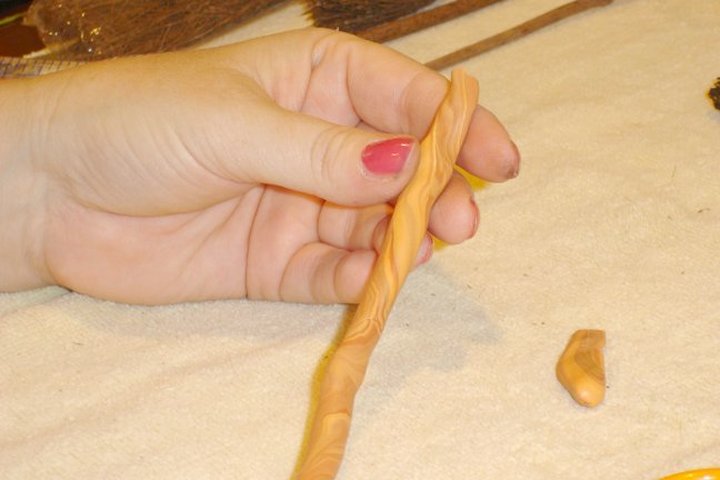
 9. As you continue shaping the handle, remove any excess clay along the length of the wire.
Enlarge picture showing where to remove excess clay
 10. If the length becomes too straight or a shape you do not desire, just roll to the desired shape.
Enlarge picture showing how to refine the shape
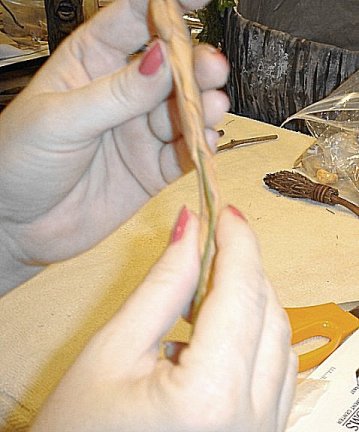
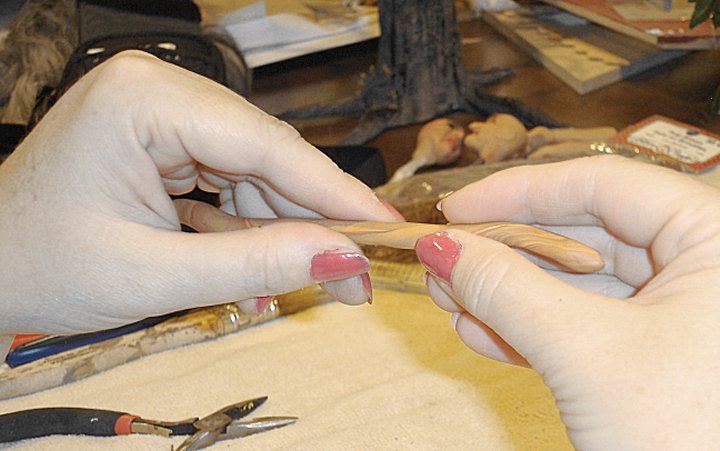
 11. This image shows how you can gently pull the polymer clay along the length of the broom to thin it down, if it's too thick after rolling.
Enlarge picture showing how to thin the clay
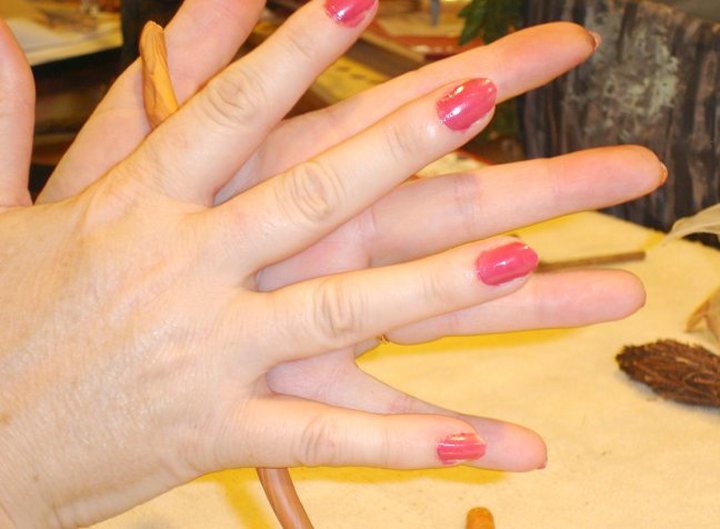
 12. Gently pull the clay around the sharp end of the wire and round it off so that the wire isn't exposed.
Enlarge picture showing process to cover the end of the wire
COMMENT
I imagine a witch's broom to be worn and smoothed out by constant use and the aerodynamics of flying into the night wind would naturally round and weather the end!!
I imagine a witch's broom to be worn and smoothed out by constant use and the aerodynamics of flying into the night wind would naturally round and weather the end!!
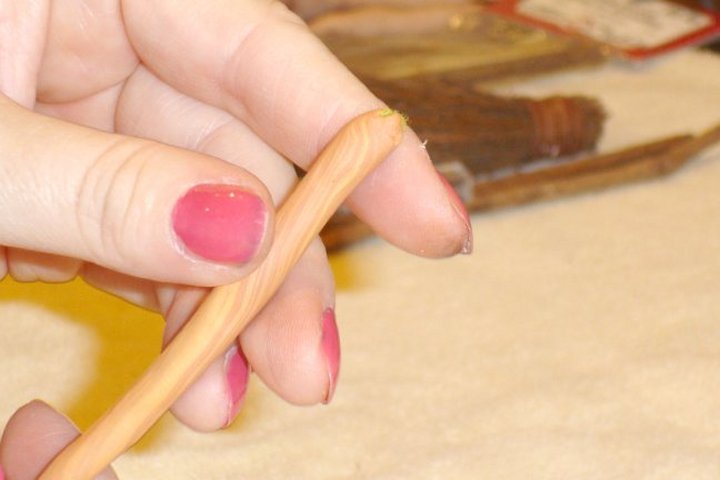
 13. Using a toothpick or any sharp edged tool, create lines along the length of the broom handle randomly. Some long slashes, some short -- this gives the effect of aged wood.
Enlarge picture showing where how to age the handle
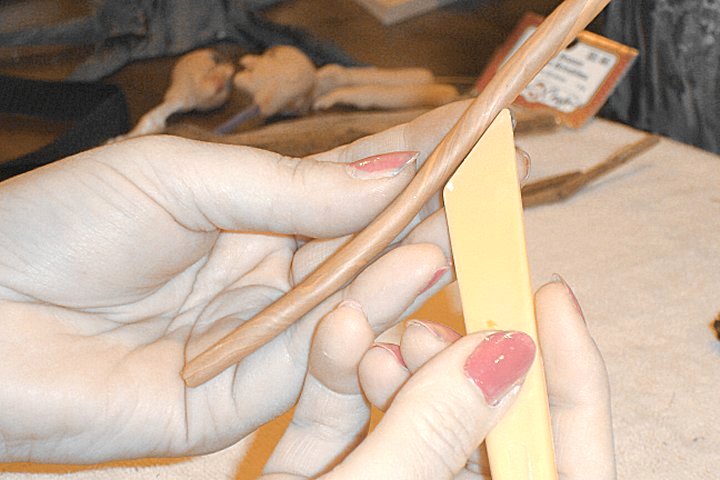
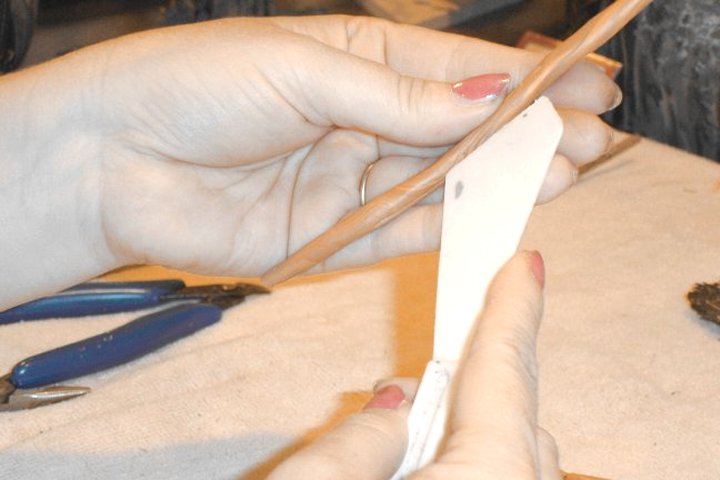
 14. Next, you will need a flat edged tool for this step. Using the tool, make small random indentations along the length of the polymer clay to simulate woodgrain.
Enlarge picture showing how to simulate woodgrain
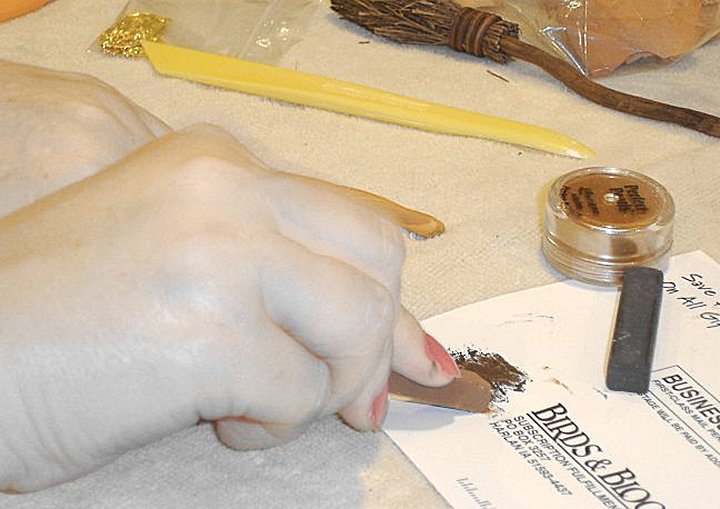
 15. Now you are ready to highlight and add depth to the clay. So gather your artist pastels. I am using Grumbacher's Soft Pastels. Select burnt sienna and a dark brown stick. Rub both on a piece of scrap paper to create a powder.
Enlarge picture showing the artist pastel chalks
TIP
Before the next step, consider how you want to highlight your broomstick. Most broomsticks though are dark and weathered. For a subtle shimmer, lightly dab Pearl Ex copper powder along the handle, if desired. Don't overdo it -- just a little will add a bit of life. My broom will probably be mounted on the wall lengthwise so needs a bit of shimmer to make it stand out.
Before the next step, consider how you want to highlight your broomstick. Most broomsticks though are dark and weathered. For a subtle shimmer, lightly dab Pearl Ex copper powder along the handle, if desired. Don't overdo it -- just a little will add a bit of life. My broom will probably be mounted on the wall lengthwise so needs a bit of shimmer to make it stand out.
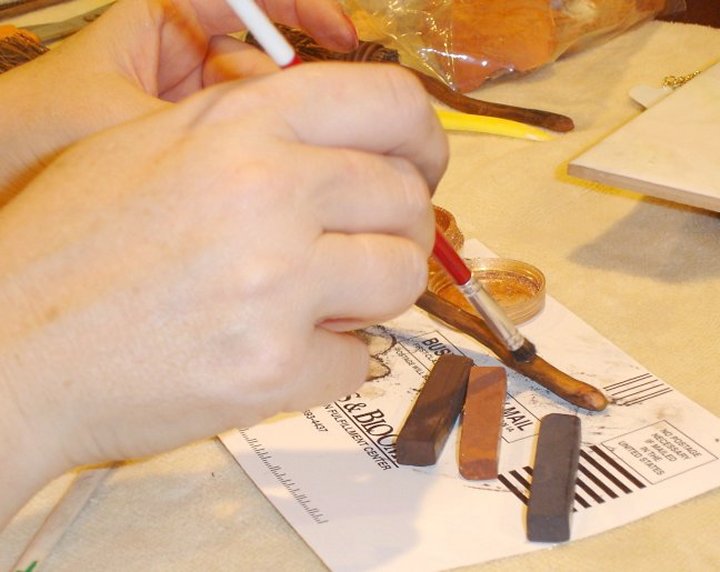
 16. With a soft artist's brush, brush the powder along the unbaked polymer clay broom handle length, until it is shaded to your satisfaction.
Enlarge picture showing where to use the artist pastel chalks
BAKING
After you have shaded and highlighted your polymer clay, bake the broomstick according to the manufacturers recommendatons. I bake mine at around 260ºF for 12-15 minutes, but ovens vary as do manufacturers recommendatons.
After you have shaded and highlighted your polymer clay, bake the broomstick according to the manufacturers recommendatons. I bake mine at around 260ºF for 12-15 minutes, but ovens vary as do manufacturers recommendatons.
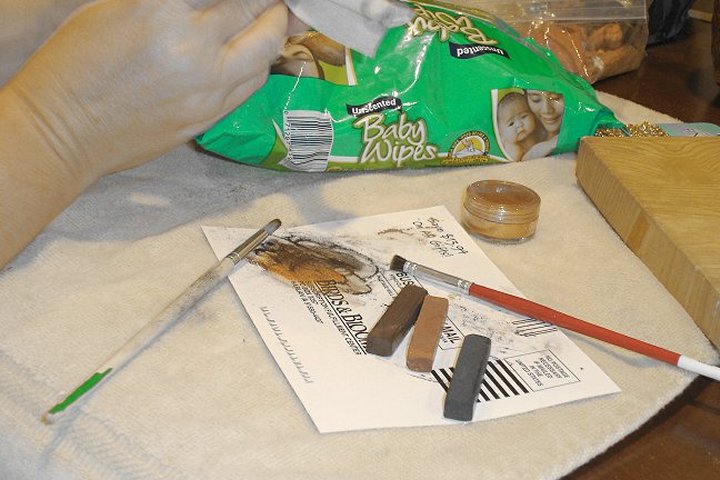
 17. While the broomstick is baking, take the opportunity to clean up your hands with baby wipes. Just a little helpful step that I'm sure most of you know.
Enlarge picture showing the baby wipes
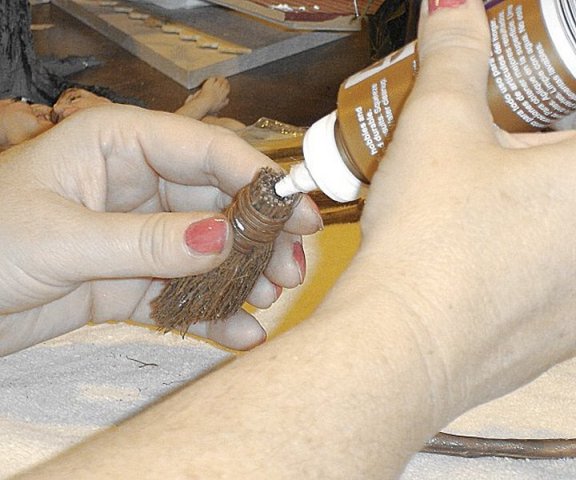
 18. Take the bristled broom and squeeze a dab of white glue in the hole left from removing the commercial handle.
Enlarge picture showing the two sides A and B facing each other
TIP
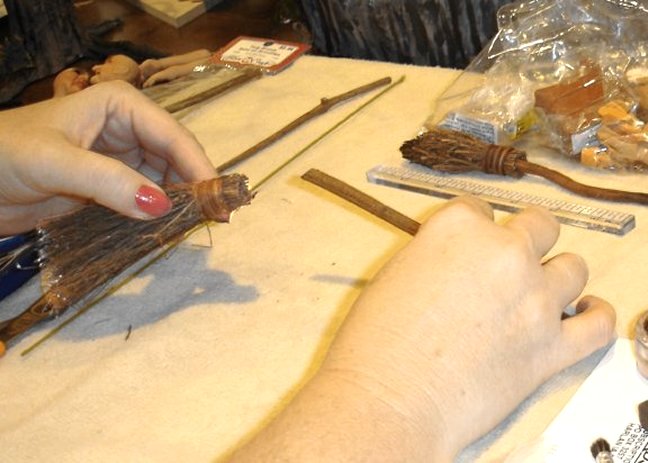
If you could not find the commercial broom, you will need to make a bristle bundle to form the lower part of the broom. You can use a real broom and cut off bristles or you can use twigs. For either option, you will need to bind a large bunch of twigs or bristles around the clay handle with bristles.
You will need about 2" (5.08cm) of bristles or twigs. Cut the length to your preference. Glue around the handle before trying to apply the bristles or twigs. Then shape the bristles or twigs around the handle. You can bind it with brown embroidery floss. Then you can cover the floss with raffia or another natural fiber. Be sure to bind them securely and add more bristles or twigs if it looks skimpy.
Remember that the broom will look circular rather than flat, like the ones you would find at a regular store.
 19. After the handle has cooled, if you are using the commercial broom, fill the hole with glue. Then push the hardened and cooled handle into the broom hole about 1/3" (8.46mm) way in and allow to dry.
Enlarge picture showing how to join the handle with the bristle bottom
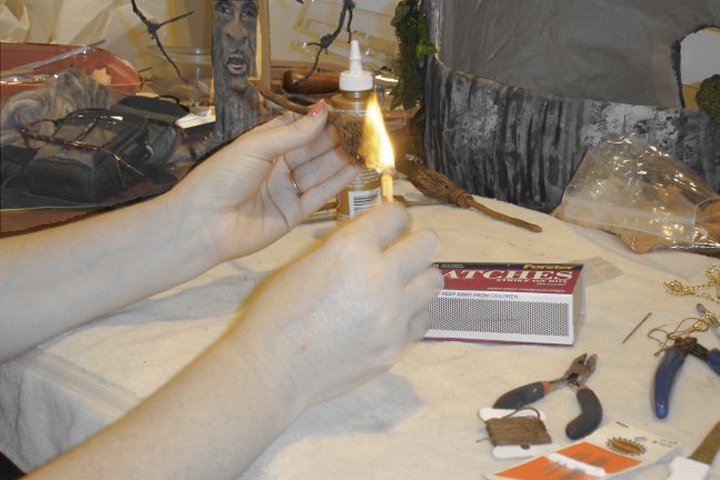
 20. With craft scissors, cut the end of the broom down tapering it around the center and, to make it look even more worn and weathered. Carefully burn the ends with a match, blowing it out quickly. Have a small bowl of water ready to put your match in and in case things get out of hand!!
Enlarge picture showing how to age the bristles with a match
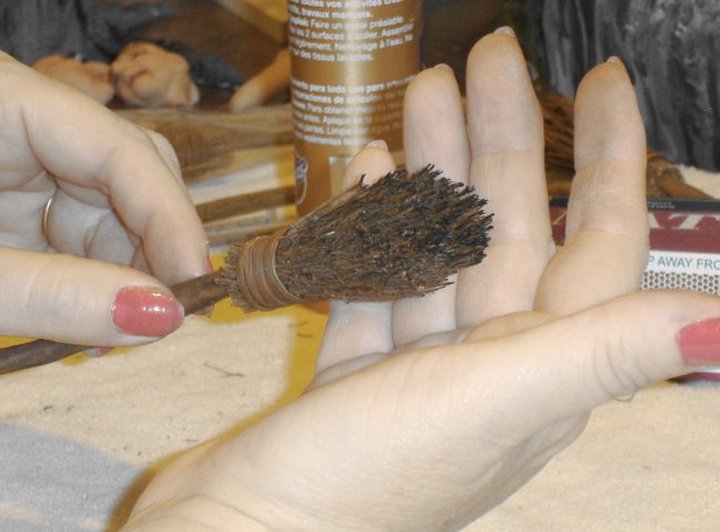
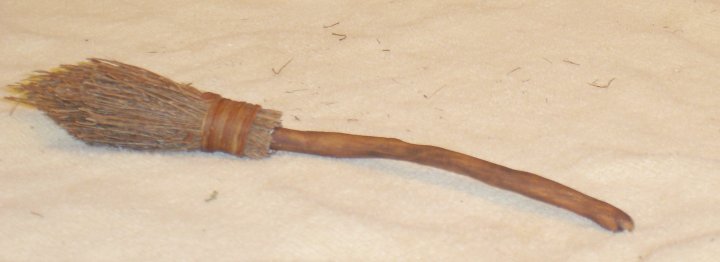
 21. You have a rustic, weathered, slightly singed witch's broom that any self-respecting witch would be proud of mount.
Enlarge picture showing the completed witch broom
 22. Alternative Example #1
Here is one version with the end tapered, the handle slightly bent and the broom singed.
Enlarge picture showing alternative example #1
 23. Alternative Example #2
This image shows the end tapered but not burned as an example if you prefer not to play with fire.
Enlarge picture showing alternative example #2
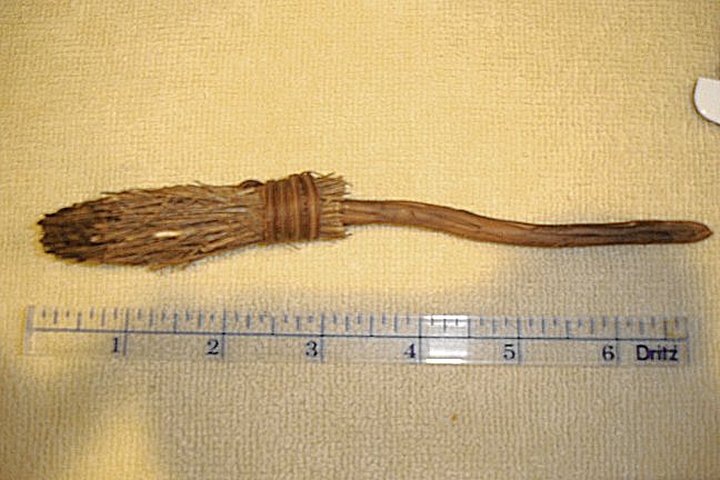
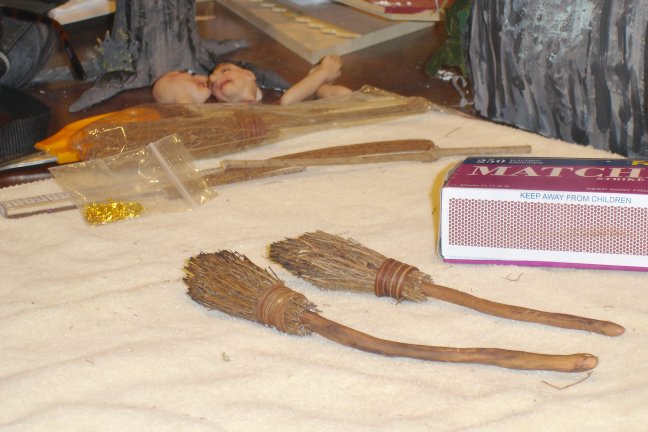
 24. Alternative Example #3
Here are two different examples; one slightly longer with a bushier broom. And that's it. Thanks for tuning in. One day maybe I'll be capable of doing something a bit more challenging!
Enlarge picture showing alternative example #3
MEET THE ARTISAN
 Jody Raines, a US born artist, has been happily married to her husband Jerry for 23 years. They have three beautiful children, Maggie - 18, Ben - 16 and Joanna is 9.
Jody says that she, "loves pretty much all aspects of quilting including traditional piecing, hand applique, thread painting, fabric painting, embellishments, crazy quilting and landscape quilting".
She also says that she completely enjoys miniatures. That you can find her creating and collecting towards a mini log home someday. Jody has a blog, Mini Leaps and Bounds that you can visit.
Jody is a valued member of the CDHM Miniature Forums .
Visit the CDHM Galleries.
Jody Raines, a US born artist, has been happily married to her husband Jerry for 23 years. They have three beautiful children, Maggie - 18, Ben - 16 and Joanna is 9.
Jody says that she, "loves pretty much all aspects of quilting including traditional piecing, hand applique, thread painting, fabric painting, embellishments, crazy quilting and landscape quilting".
She also says that she completely enjoys miniatures. That you can find her creating and collecting towards a mini log home someday. Jody has a blog, Mini Leaps and Bounds that you can visit.
Jody is a valued member of the CDHM Miniature Forums .
Visit the CDHM Galleries.
©
2008-2010 Jody Raines
Reproduced with permission from Jody Raines. All photographs and text appearing in this tutorial are the exclusive property of Jody Raines. Permission is explicitly denied for any republication of text or photographs in this article without the prior express written consent of the author.
BACK
Copyright © 2004-2012
Custom Dolls, Houses & Miniatures / CDHM
Custom Dolls, Houses & Miniatures / CDHM