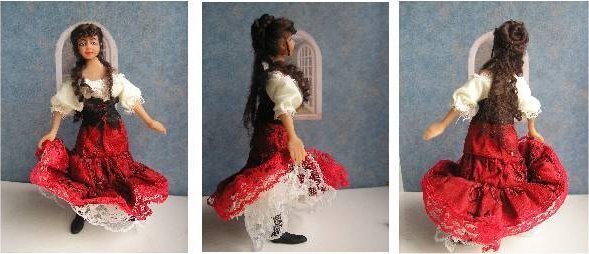
Learn Wigging
For your Doll or Fairy
by Nicky Cooper
Materials Needed:
- 1 - Doll to be wigged
- 1 - Sandwich bag or some cling film
- 1 - Bottle of Fabritac�, Magnatac�, or any Tacky glue
- 1 - Small dress making pin (straight pins)
- 1 - Small packet of viscose doll hair
- 10 - 8cm (3 inches) lengths of 0.50 (26 gauge) wire (Substitutes: small beading rods or toothpicks)
- 1 - Pair of sharpe scissors
- 1 - Small tray of water (Substitute: tub or bowl)
- 1 - Fine tipped glue syringe
- 1 - Small over proof dish or ceramic tile
 Close-up images of materials needed.
Enlarge picture of basic materials needed.
Overview
This tutorial is based on wigging a 1/12th scale doll (porcelain/resin or polymer clay).
For larger scales simply use greater quantities!
This tutorial is based on wigging a 1/12th scale doll (porcelain/resin or polymer clay).
For larger scales simply use greater quantities!
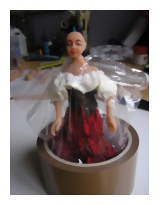 1. Cut a small slit in the base of a sandwich bag and place over your dolls head in order to keep the clothes hair free.
Enlarge picture showing preparation using sandwich bag.
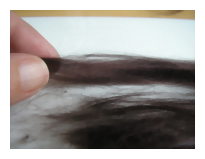 2. Next take your length of viscose hair, gently grasp a small end and pull towards you. From Gently pull the wefts out.
Enlarge picture showing viscose.
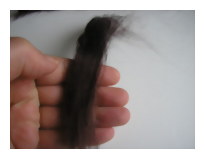 3. You will find that natural lengths approximately 3-4 inches in length will come away, place any fuzzy bits to one side and store in a little container! (Don't waste them!)
Enlarge picture showing pulled viscose.
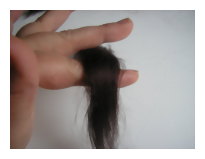 4. Place the longer lengths on top of one another, once you have a pile approximately � "tall and �" wide you are ready to move to the next step.
Enlarge picture showing the piled hair (viscose).
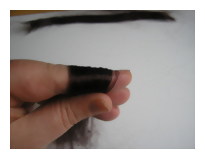 5. Place the strands over your index finger and space them out evenly, make sure there are no gaps and no areas built up too heavily. The amount should give a good coverage over a space of about �" wide. Make sure the hair hanging down each side is roughly even do not trim the ends wispy ends rather than a straight line can give a long natural flowing look!
Enlarge picture showing how to space strands.
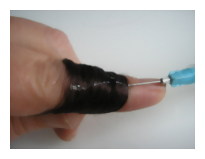 6. Using Fabritac�, Magnatac� or any tacky glue in your fine tipped syringe (I use one with a metal tip which is 0.8mm diameter), draw a line over the top of the hair down your index finger.
Enlarge picture showing where to glue first.
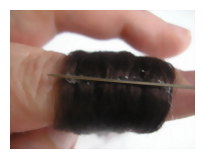 7. Place your needle or pin along the line of glue, flip the hair over.
Enlarge picture showing how fold the hair over pin.
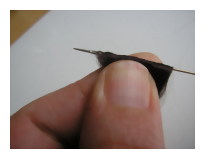 8. Pinch it under the pin to seal.
Enlarge picture showing how sealing.
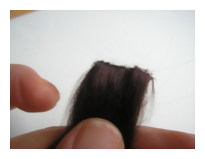 9. Very gently and quickly slide the pin out.
Enlarge picture showing pin coming out.
TIP
IMPORTANT: If you are using tacky glue you will have to place this aside to dry for a wee while before continuing onto Step 10.
IMPORTANT: If you are using tacky glue you will have to place this aside to dry for a wee while before continuing onto Step 10.
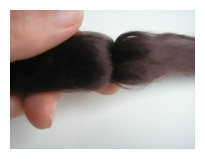 10. If you used Fabritac� or Magnatac� these will dry almost instantaneously, so you can open the hair back up, hey presto a nice neat parting!
Enlarge picture showing hair part.
TIP
If your parting is showing a wee bit of glue when you open it, close the hair over again and give it another pinch together be sparing with the glue that way it doesn't seep through!
If your parting is showing a wee bit of glue when you open it, close the hair over again and give it another pinch together be sparing with the glue that way it doesn't seep through!
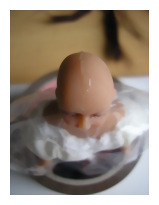 11. Take your doll. Using the fine tipped syringe with glue draw a very neat line along the top of the head.
Enlarge picture showing glue line on dolls head.
TIP
Before proceeding to Step 12.
Remember when you are drawing your hair line that hair does not go in a straight line. Part to the ear, shape it with a slightly outward motion; towards the eye brow and then down towards the ear; then up over the ear again in a curve and gently slope down and round to the back and up to the middle parting. (Only do half the head at this stage not the hole head)!
The hair line is important and will make all the difference to the end look if you are sweeping any of the hair back! Pull your own hair back and take a look at the line it forms! Some people have a definite peak at the front, others come forward; try these out at a later date on other dolls!
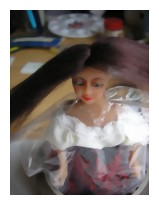 12. Place the parting along the glue line.
Enlarge picture showing hair line.
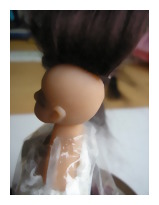 13. Lift up one side and gently place if over the other side of the head.
Enlarge picture showing how flip hair.
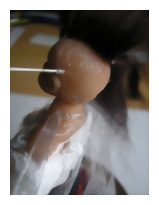 14. Draw in a hair line of glue and then fill in, be sparing with the glue as that will prevent it seeping through into the hair! (Especially of you are using tacky glue!)
Enlarge picture showing where to glue on side of head.
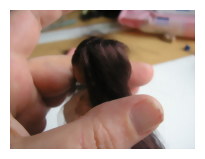 15. Pull the hair back over and using the ends of the hair pull down slightly so that the glue and hair bond well.
Enlarge picture showing hair over glue area.
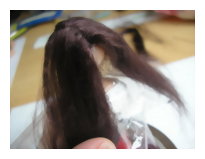 16. Remember to sweep a few hairs round and down the back! Now repeat this step for the other side!
Enlarge picture showing hair bonding on the sides.
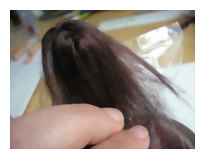 17. Pull the hair down at the back so that there are no gaps. Once again if you are using tacky glue this stage will take a fair bit longer than those using Fabritac� or Magnatac�!
Enlarge picture showing where to bonding hair down the back.
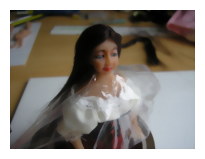 18. Your doll now has a basic wig. From this almost any style can be made. If you want a style of just loose long hair then you can leave the style here!
Enlarge picture showing basic wig style.
TIP
Now for the next stage! If your glue is now dry we can start to create the bun. For this doll I do not want the hair pulled tight to the face I want the hair to look like a soft bouffant, so it is important not to pull too tightly through the next few steps!
Now for the next stage! If your glue is now dry we can start to create the bun. For this doll I do not want the hair pulled tight to the face I want the hair to look like a soft bouffant, so it is important not to pull too tightly through the next few steps!
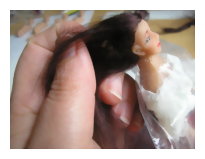 19. Smooth the hair gently back and hold the ends with the tips of your fingers, smoothing in any strays! Note the natural hair line that has formed.
Enlarge picture showing position to twist hair.
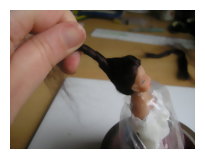 20. With all the hair in the tips of your fingers and WITHOUT pulling tightly start to twist the hair.
Enlarge picture showing how to start twisting.
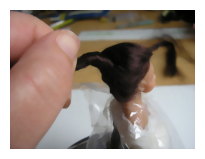 21. Keep twisting!
Enlarge picture showing how to keep twisting.
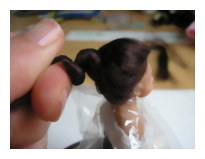 22. Keep twisting until you find the hair twisting upon itself!
Enlarge picture showing twisting till it coils.
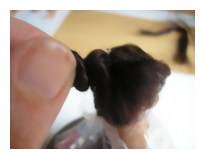 23. It will start to form a natural curve this is the first section of your bun, using just a tiny spot of glue, secure this twist of hair to top of the head.
Enlarge picture showing twisting till it coils.
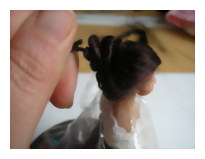 24. Keep twisting the rest of the hair until you reach the very tip, you will find the hair has managed to twist itself into a nice neat bun already, again very sparingly, add a dot or two of glue to just fix the bun in place around the upper part of the bun (but not at the bottom, you will see why later).
Enlarge picture showing twisting the ends.
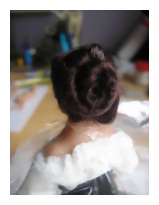 25. Poke the end of the twist into the middle of the bun.
Enlarge picture showing where to close the end.
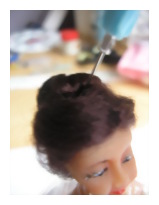 26. Secure the end by placing the tip of your syringe deep into the bun and give a tiny push, squeeze out the bare minimum of glue!
Enlarge picture showing how to glue the end.
TIP
If you didn't pull the hair too tightly you will find that the hair has a nice gentle bouffant away from the head, if your hair is tight to the head then you did pull too tightly!!
Set this to one side in order to set fully.
If you didn't pull the hair too tightly you will find that the hair has a nice gentle bouffant away from the head, if your hair is tight to the head then you did pull too tightly!!
Set this to one side in order to set fully.
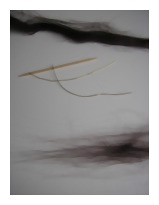 27. Gather a couple of strips of wire and cocktail sticks (I use both as it gives different curling effects. You will also need your container of water. Now go back to your wad of hair and once more pull out a few wefts. Not too many the more hair you use the bigger the curls the smaller amount you use the tinier the curl!
Enlarge picture showing materials for next step.
TIP
Cocktail sticks give a much wider but looser curl; wire gives very tight tiny ringlets.
Cocktail sticks give a much wider but looser curl; wire gives very tight tiny ringlets.
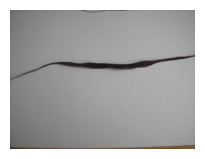 28. You need only a few wefts of hair. Take them between your fingers and twist them.
Enlarge picture showing result of twisting wefts.
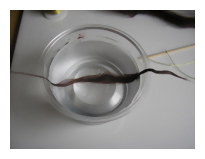 29. Bring your little container of water closer to you. Slightly twist the weft of hair just to bring the fibres closer together. Dip the length into the water and give another twist just to expel any excess water.
Enlarge picture showing how to dampen and twist wefts.
TIP
Don't twist out too much of the water! The wetter the better since water will enable you to work the hair easier.
Don't twist out too much of the water! The wetter the better since water will enable you to work the hair easier.
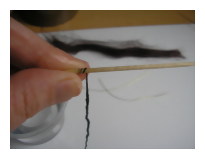 30. Pinning the end of the hair between your finger and thumb at the end of your wire or cocktail stick gently turn the stick and you will find the hair will start to spiral down the length, or if its easier for you, twist the hair around the stationery piece of wire/stick.
Enlarge picture showing how to twist the wefts.
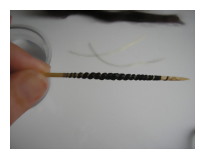 31. Twist the ends over themselves slightly to secure! Then release your finger and thumb and make sure that end is secure too!
Enlarge picture showing how to close the end pieces.
TIP
Repeat this step until you have a few sticks at the ready, don't worry if you do too many as they always come in handy! But make sure you have at least 5 strands done ready for the next stage!
Repeat this step until you have a few sticks at the ready, don't worry if you do too many as they always come in handy! But make sure you have at least 5 strands done ready for the next stage!
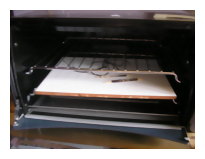 32. Place these in a heat proof dish or ceramic/glass tile and bake in your oven for 15 minutes on 130'C (or 275'F).
Enlarge picture showing baking layout.
TIP
If you find some of the hair is not fixing at the ends, dip your fingers into the the water and dab the sticks. This will help fix the ends. The key is not to have too many wefts of hair, the less the better.
When your timer has finished, remove from the oven and leave to cool for a few moments. Tipping them out onto a cool surface rather than leaving them in the dish will help to cool faster for those who are slightly more impatient (Like me!!).
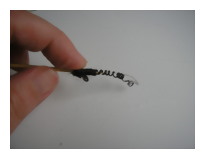 33. Once the curls have cooled, very gently push with your finger at one end and the hair should gently slide off into ringlets. Trim off any rough or fuzzy ends.
Enlarge picture showing how to remove ringlets.
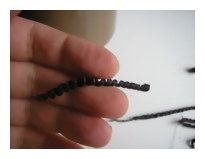 34. Pick up a piece from the curls off the sticks and gently pull it length wise.
Enlarge picture showing how to remove ringlets.
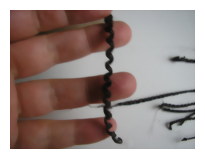 35. Then starting at the middle gently pull them apart to open up the curl and give fine wavy hair.
Enlarge picture showing how to separate ringlets.
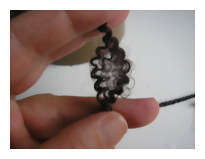 36. Results of pulling ringlets.
Enlarge picture showing results of ringlets.
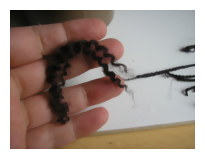 37. Fold this length in half.
Enlarge picture showing how to fold.
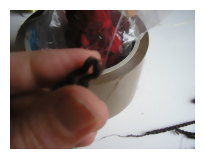 38. Fold till you form a loop.
Enlarge picture showing the loop fold.
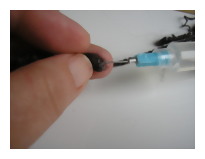 39. Place a small dot of glue on the loop and slide it up underneath the bottom of the bun.
Enlarge picture showing where to glue.
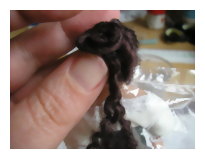 40. Lift up the bun and gently slide the hair piece underneath.
Enlarge picture showing where to place the ringlets.
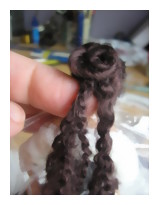 41. Repeat this process a few times until you are happy with the amount of hair flowing down your dolls back.
Enlarge picture showing where to attach.
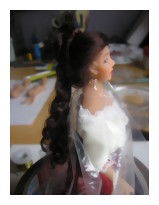 42. Alternatively here you can leave the hair in ringlets, coming from under the bun. This would be a typical style from the Regency, Victorian, or Edwardian period.
Enlarge picture showing hair style to this stage.
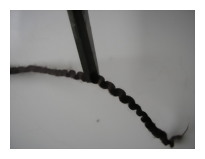 43. Pick up another piece of curled hair; do not open this one out! Remove the fuzzy ends and cut a piece about 1.5 inches long.
Enlarge picture preparing another curl.
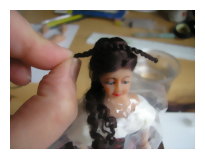 44. Place a small dot of glue at the middle front bottom of the bun and drape the length over the glue dot.
Enlarge picture showing placement.
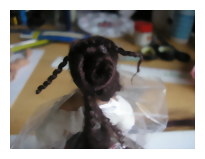 45. Turn the doll round and bring both ends down so that the follow the line of the bun
Enlarge picture showing how to secure the top curl.
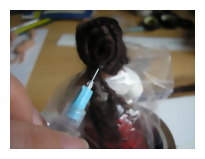 46. Secure the ends at the bottom back of the bun with a small dot of glue.
Enlarge picture showing how to secure to the bun.
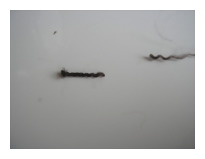 47. Take another strip of fine curls and snip off short lengths of approximately 5mm or shorter.
Enlarge picture preparing short curls.
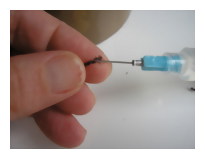 48. Put a dot of glue on the end of the small weft; this will be placed on the bun.
Enlarge picture preparing another curl.
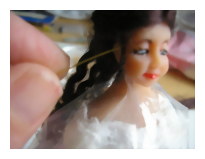 49. Using a pin, gently slide these up onto the bun to meet the hair line in front of the ear.
Enlarge picture showing curl.
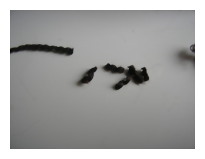 50. Now cut four (4) pieces of hair about 3-5mm long. This can vary, depending on the doll's forehead height.
Enlarge picture showing short lengths for bangs.
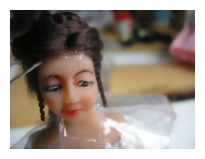 51. Take your glue syringe and run a fine line of glue along the top front hair line, just either side of the part.
Enlarge picture to see where to glue.
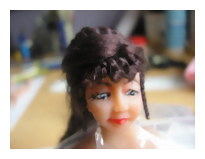 52. Using your cocktail stick pick up your small curls and push gently onto the glue. Gently tease out the curls.
Enlarge picture showing bangs.
TIP
Nearly there! Now go over the hair style and look for any stray hairs that may be sticking out; without trimming too closely to the head of the doll, trim these hairs away. Believe me you will always see a few you missed when it comes to photographing your doll. You can now remove the bag! Simply pull the bag downwards so as not to disturb anything! Then ease some of the loose hair towards the front and let it drape over the shoulder and down towards the bosom.
Nearly there! Now go over the hair style and look for any stray hairs that may be sticking out; without trimming too closely to the head of the doll, trim these hairs away. Believe me you will always see a few you missed when it comes to photographing your doll. You can now remove the bag! Simply pull the bag downwards so as not to disturb anything! Then ease some of the loose hair towards the front and let it drape over the shoulder and down towards the bosom.
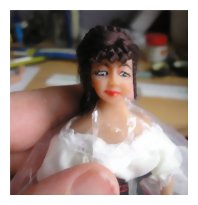 53. All done and complete! I hope you have enjoyed the tutorial! Now all you have to do is experiment, once you have the hair lines and hair glued down there is a whole wealth of styles you can then create, they hair will then style exactly like your own as you have a natural fall and hair line to work from!
Enlarge picture showing bangs.
MEET THE ARTIST
 Nicky Cooper lives in Dunstable, UK. Nicky says, "for me as well as many other doll makers, it is a labour of love. You are only restricted by your imagination and thats something I have plenty of! There is not a day that goes by when I do not learn something new and I am always striving to continue to improve my skills and learn new aspects within the miniature world".
Nicky is a valued member of the CDHM Forums. Visit the Galleries today.
© 2007-2012 Nicky Cooper
Reproduced with permission from Nicky Cooper. All photographs and text appearing in this tutorial are the exclusive property of Nicky Cooper. Permission is explicitly denied for any republication of text or photographs in this article without the prior express written consent of the author.


