CDHM The Miniature Way
November 2010, Issue 10
Tutorial: Carved Chicken
Page 100
Tutorial with Linda Cummings
Check that your chicken still fits on the platter. If yours has grown, gently push from the back end to compress the carcass. If this does not allow the chicken to fit the platter, you have a couple of options: (1) Find a different platter or (2) your chicken can become a turkey!!
Note: Remember not to use it on the bone carcass!
November 2010, Issue 10
Tutorial: Carved Chicken
Page 100
Tutorial with Linda Cummings

Step 22
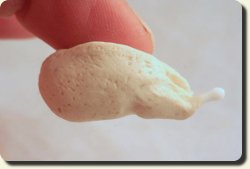
Your carcass should now look like the image.

Step 23
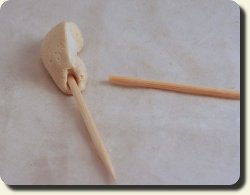
Retrieve your cocktail stick (or toothpick), then break off the tip end. Make a neck hole into the body cavity, as shown.

Step 24
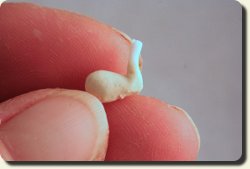
Take one of your leg pieces, then shape it in the same way as you did for the wings. Repeat the same process with the 2nd leg.

Step 25
Next, press one leg into the fully fleshed side of the chicken. While resting the carcass on your finger, carefully smooth the join. This can take a bit of practice, but the end result is well worth the effort! Repeat with the 2nd leg on the carcass side.
Check that your chicken still fits on the platter. If yours has grown, gently push from the back end to compress the carcass. If this does not allow the chicken to fit the platter, you have a couple of options: (1) Find a different platter or (2) your chicken can become a turkey!!

Step 26
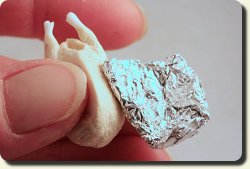
Now is a good time to use the crumpled foil to texture all the skin covered pieces. Start by pressing the foil onto the surface of the chicken.
Note: Remember not to use it on the bone carcass!

Step 27
Using a straight pin, gently press into the rounded back end of the chicken to make a slight cleft, as shown.
CopyrightŠ 2010
Custom Dolls, Houses & Miniatures / CDHM
Custom Dolls, Houses & Miniatures / CDHM


