 CDHM The Miniature Way
September 2010, Issue 8
Tools
Page 22

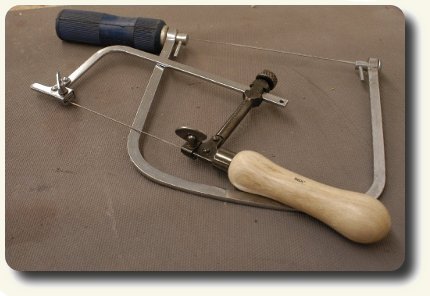
 Next we need to secure our wood and carefully saw out the shape we made. Use your coping saw to do the cutting and try to stay just outside of the lines you drew on the wood, this isn't a race so cut slowly and deliberately and pause if you think you're going to cut into your design, back up and try to get a better angle going with the saw.
Jewelers saws - which are similar to a coping saw in design - have spiral blades which are round and can cut from any angle in any direction. They can be better cutters sometimes because they cut with more precision. The problem I have with them is that they are fragile and the blades can break if too much force is applied to a cut, and this wood is HARD. If you have a band saw and know how to use it, your cutting time can be cut down significantly.

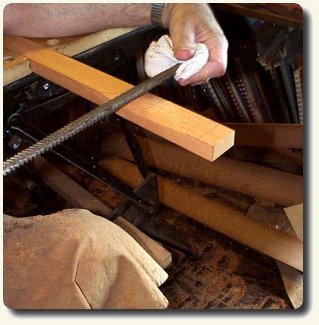
Okay so now your tool has been cut free from the block and already you can see something new coming into existence. Take your piece and wrap a rag around the part you're not working on first and secure that, preferably in a vise, and start shaping it with your files. A note on files: they should be the fine cut type not coarse heavy cutting types as those will leave ridiculous grooves in your piece that you will have to try and sand out. Again go slow, use the round file to cut curves and inside of round edges pushing and pulling it in a diagonal movement.
You can see a shape out of the block starting to form. In this image, the man is using a type of coarse file I want you to stay away from, but you can still see the method. The flat is for smoothing and contouring outside shapes, smoothing that crisp flat slope and for leveling out any lumpy spots. I am assuming that I don't need to tell you that these files should also be of the smaller variety, we are not building a house here folks (well, then again some of you might use this technique for that, too). Flip the tool and finish the other end next.
Custom Dolls, Houses & Miniatures / CDHM


